An Android project is an ideal candidate for CI/CD Solutions and could leverage the full power of cloud. Google provides the complete android build environment as a command line tool and therefore configuring it with a CI/CD script is not too difficult.
For this article, We will continue to explore Github Actions
Q. What can we do with a CI/CD workflow?
We can make a script that will command the CI/CD server to run a set of actions on certain events, like a git push to a particular branch, or when a PR is raised from one git branch to another. We can also configure the script to be started manually on a button press and not on any event
Q. But what task we can create for an Android Project?
Our script could:
- Run lint checks on the project code.
- Run Static Code Analysers on the project code.
- Run Unit Tests , Instrumental Tests on the project code.
- Generate and Publish Reports of actions.
- Compile the project code to ensure the proper working of code.
- Generate Artifacts (
.AAR,.APKfiles) - Publish the Artifacts to their respective marketplace, like mavenCentral for library builds or Play Store for APK builds.
- Send notifications to Slack
- and much more.
Q. But why would I want to do all these tasks?
Let us create a script that does some of the above tasks while understanding the importance of each of these steps
create a folder .github/workflows in your project and add the following file:
Push this file to your GitHub repository and checkout the actions tab.

Congratulations on running your first Github Action! But what Exactly is going on here?
- We let the Github CI/CD server know that we want to run our action on a Ubuntu Host Server of latest version(20.4). We also inform it to provide all the required permissions to our script
- Checkout is an action created by GitHub for us , which checks-out our repository under
$GITHUB_WORKSPACE, so your workflow can access it. We inform the CI/CD server to execute this action . There are several other actions available for us to use, created by github and the community. setup-java is another such action. - in the next step, we run the gradle task
./gradlew assembleDebugThis is the task that runs when we press the green arrow icon 🟢 in android studio . Note that for this step, we are not using any 3rd party action, but the gradle tool that comes pre installed with our Ubuntu Host server
4. Finally we invoke another 3rd party action upload-artifact and provide it with a list of paths where the previous actions must have generated a build . at the successful execution of your action, you can find these uploaded artifacts in the summary section.


Cool, so we build a basic action that is going to run some steps on every push to master branch . And these steps include setting up an environment, building code and uploading results.
Why should we do that? A nice use case would be for an open source project where anyone could raise a PR that includes changes to original code. as a repository maintainer, you might not have time to checkout their PR’s code, build it, and ensure that its not breaking the old code. So such Pipeline could come handy.
Let’s add 2 more fairly obvious actions lint checks and unit tests
Just before the step to generate AAR, we can add these 2 more steps
...
- name: Check lint
if: always()
run: ./gradlew lint- name: Run Unit Tests
if: always()
run: ./gradlew testDebugUnitTest- name: Generate AAR and APK files
...
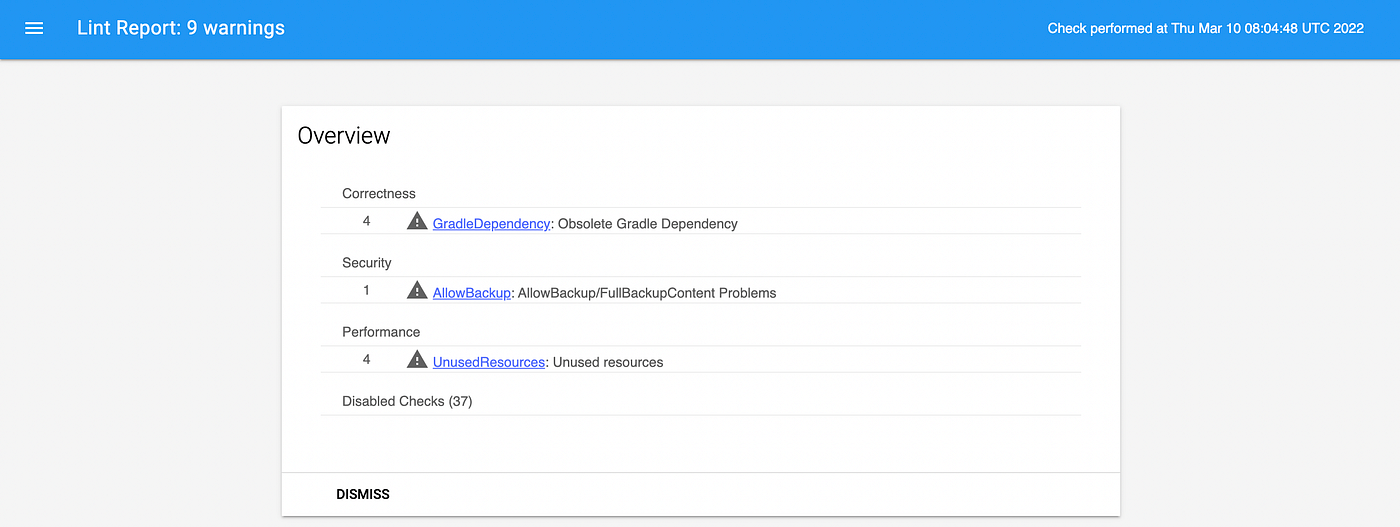
Lint checks are useful because they help see warnings that are raised by android studio during the building. these are not of immediate concern, but they could possibly become errors in future based on the severity.
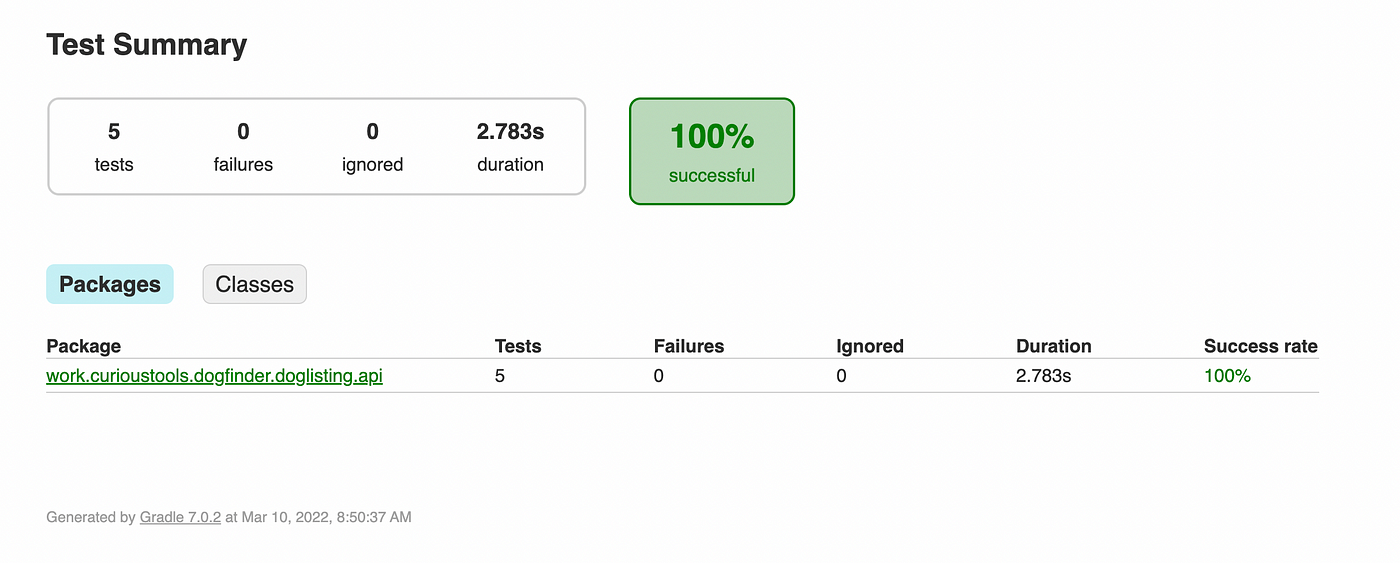
Similarly Unit Tests passing on a code is a very important check to ensure that newly added code does not break the previous logics.
These steps in the action will generate beautiful reports and we should upload them too via the artifact action available. you can check the dogFinder repo to get the latest up to date action script for these tasks.


Until now, we did not had to make any changes in our original code to get the action to work. This was because the environment we set up already provided us those features. We can even run those ./gradlew xyz tasks from our android studio console and those will work correctly
However features like publishing to mavenCentral, Google Play console or running Static code analysis tools require a project level setup thus here the flow will be:
- We will add some libraries in our code to enable support for Static code analyzers.
- These libraries will register actions in Gradle which we can run via command line .
- During setup of our code on the cloud , those libraries will also get initiated and register their actions on the gradle in cloud
- Then CI/CD will be able to run those actions too!
We will be using detekt and checkstyle to most common static code analysers for Kotlin and Java code respectively.
in your action script, add this:
In your root level gradle file, add this:
// $projectRoot/build.gradleplugins
id("io.gitlab.arturbosch.detekt").version("1.20.0-RC1").apply(false)
In your module level gradle file(s), add this:
Create a folder named config in your project root and add the associated config files

These are very basic configurations of checkstyle and detekt that I use for my personal project. you can check their respective websites for complete configuration files and commands.
Why do we need Static code analysers?
Imagine having a team of 50 people working on a single product, with different level of exposure to the code.Each person is going to write code in their own style, and might not consider old logics and decisions in place.
without actions like lint and static code checks in place , the whole codebase could quickly loose code-style consistency and will become difficult to investigate.
These difficult to modify code areas will later become code-smells and then the legacy time bombs that nobody wants to touch!
Now push the code to master and voila! Another set of beautiful stats available as artifacts for you to download and ensure a consistent code quality on each code push!


In addition to test results, we can also configure code coverage to get insights of how much code is being covered by the test cases. Jacoco is one such awesome tool that will generate a beautiful code coverage report and we can get it as an artifact to analyse it.

In your root’s buid.gradle, simply add this:
buildscript
...
dependencies
...
classpath "com.vanniktech:gradle-android-junit-jacoco-plugin:0.16.0"


apply plugin: "com.vanniktech.android.junit.jacoco"
With this, our app supports jacoco code coverage. now instead of testDebugUnitTest, we can use the jacocoTestReportDebugaction, both locally and in our CI/CD script, to get both the results as well as a coverage report
Maven central repository is repository provided by Maven community. It contains a large number of commonly used libraries and is the most common place to upload your library.
However it requires a lot of steps and is quite tricky to get working, even in a local, no Cloud setup environment . Fortunately this amazing article helped me in setting up the publication for my library and i will just leave a link to it.
Note: Take careful considerations in creating a step for publishing an artifact automatically to a marketplace. The branches publishing these artifacts can be made protected and the api keys used here could be kept in github secrets
Similar to publishing a library, publishing to google console requires specific setup and bunch of api keys . As this was not needed for my demo project, I will link this great article for your convenience


More Stories
Top Cryptocurrencies for 2018: What Are the Best Bitcoin Alternatives?
Short History of Bitcoin
Bitcoin Mining & Security, Part 2